Building a full-auto Rayven
Installing a crank-slide auto-pusher mechanism inside of the Nerf Rayven
First things first
This prototype has only been tested with a limited amount of ammo types and the Daybreak CNC Flywheel Cage. No other flywheel cage/wheel combinations have been tested. It works, mostly... the limited amount of room within the shell is a major constraint when it comes to the length of the pusher. Getting the geometry correct on this component of the pusher mechanism has been the trickiest part of designing this particular implementation of a crank-slide pusher.

All the insides of the prototype full-auto Rayven.
The prototype
The build outlined here is based on my prototype 3s full-auto Rayven
- Lime Green Rayven
- Full-length crank-slide pusher
- Daybreak CNC Flywheel Cag
- MTB Neo Rhinos
- Daybreak Flywheels
- Turnigy Nano-Tech 850mAh 3S 70-150C

The parts
3d printed components
- 1 gearmotor mount
- 1 pusher arm - full-length
- 1 pusher arm - half-length
- 1 connecting rod
- 1 collet
- 1 trigger switch mount (optional)
- 1 spring cup insert (optional)
- 1 rev trigger (optional)
- 1 rev switch mount (optional)
- 1 axle trim guide
- 1 shaft trim guide
Parts related to the pusher mechanism
- 1 TT gearmotor (1:90 all metal, 1:48 plastic have been tested) single axial variant
- 2 3mmx6mmx2.5mm bearings
- 2 m3X6mm button head screws
- 2 m3 washers
- 1 m3x20mm button head screw
- 1 m3 button head screw I forget the length
- 1 m3 locknut
- 2 #3-24 3/8" steel thread rolling screws
- 2 DB2C-A1LB 10.1A microswitches with short straight lever
- 1 DC-DC buck converter (for 3s build)
- 1 MTB Honeybadger
- 18AWG wire

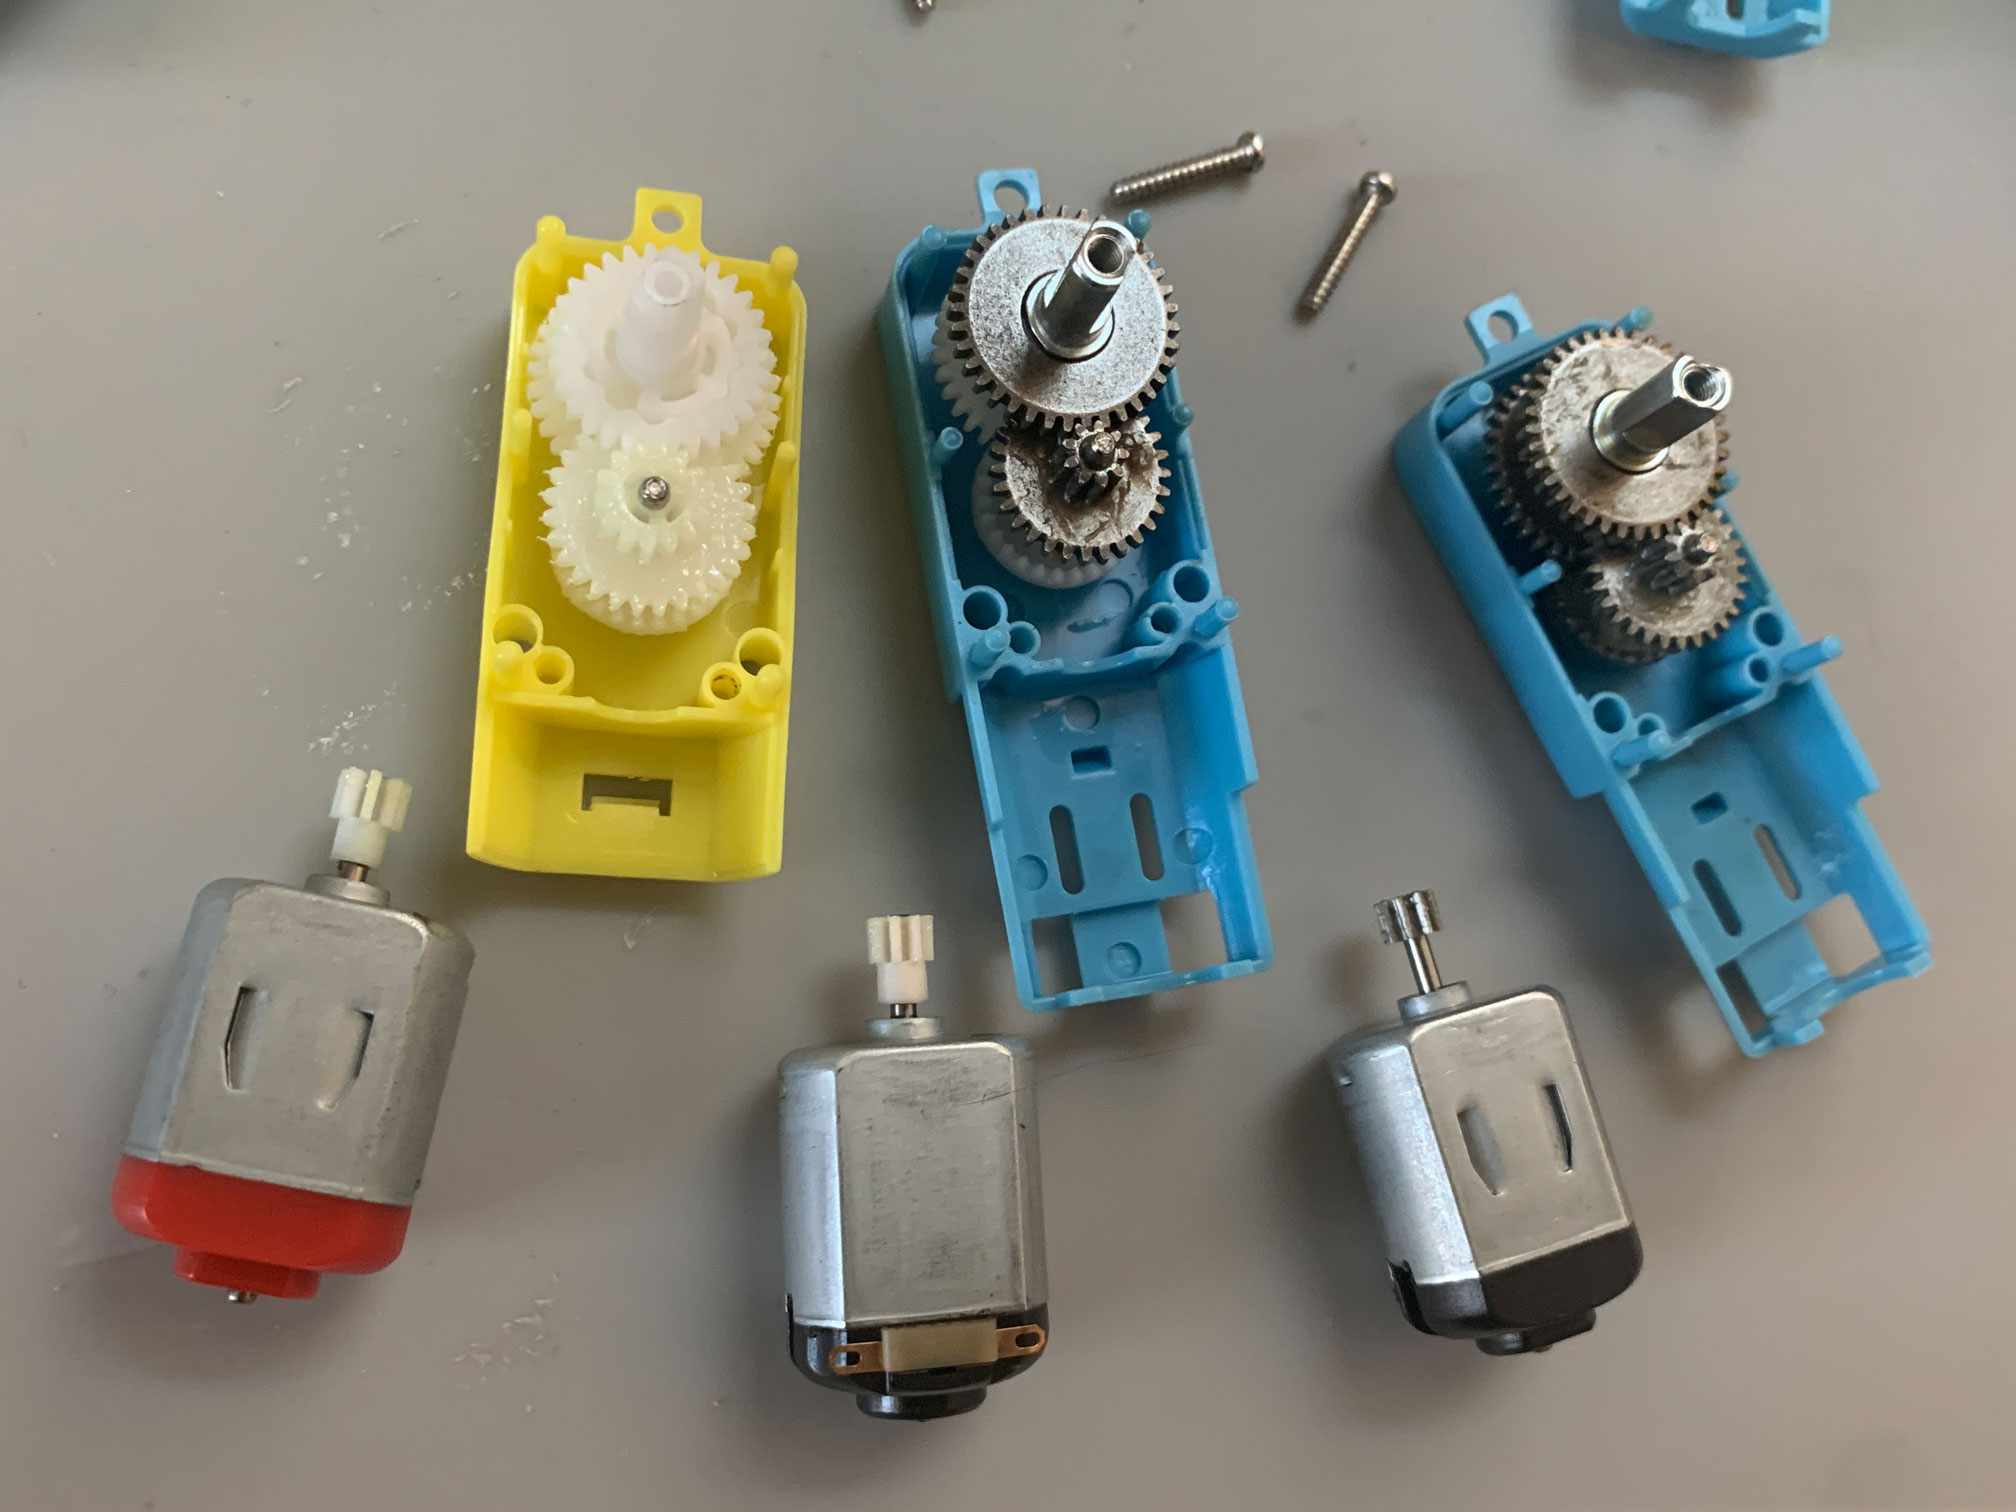
Single axial TT gearmotors - 3 variants; 1:48 all plastic, 1:90 half metal, 1:90 all metal.
Other parts not related to the full-auto mechanism but recommended for a flywheel blaster build
- 1 IRFZ44 N-Channel MOSFET
- 1 1N5400 diode
- 1 10k Ω resistor
- 1 XT-60 connector male
- 1 led voltmeter
- 16AWG wire
- 20AWG wire

The pusher mechanism mounts to the shell right under the gearmotor.

Switch mounts for the pusher, rev switch make use of existing screw posts in the shell.
Resources that can help you with your build


